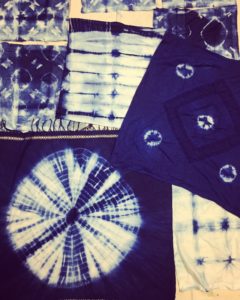
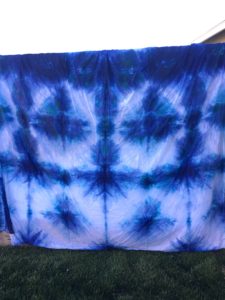
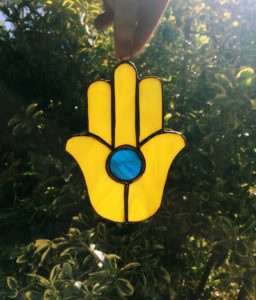
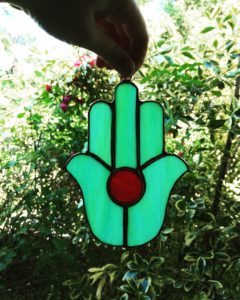
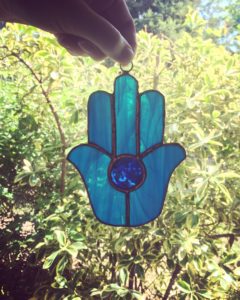
I’d been admiring Shibori projects that I’ve seen online for the last couple years. Back in the Spring, a girlfriend and I decided to give it a go. It was a lot of fun and pretty successful for our first try. Last month, another one of my girls and I went for it again.
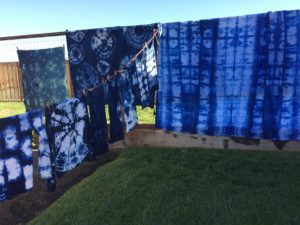
Both times, I’ve used the same kit from Amazon. It comes with the basic instructions as well as rubber bands and a couple of small squares of wood.
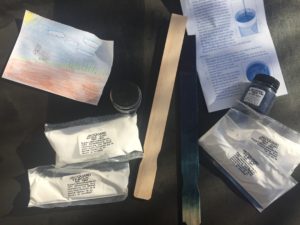
You will need a couple of buckets which can be found at your local hardware/home store.

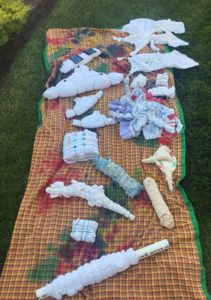
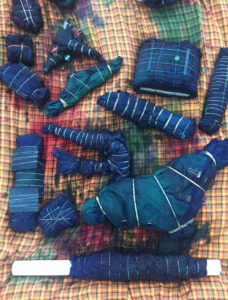
We also used additional rubber bands, chopsticks, twine, binder clips, pvc pipe, tile, and more wood blocks. They do not recommend using this particular kit for synthetics so check your labels and go all natural!
The most time consuming part of the process seems to be the tying and prepping of the fabric. One kit goes a long way and you can even save the Indigo dye vat to use again. There are tons of great tutorials online for even more ideas. The possibilities are truly endless!
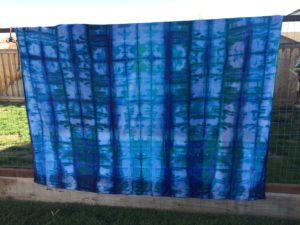
What I really love is watching the process and how the fabric is transformed before your eyes. The indigo develops when exposed to oxygen and you can actually see it turn from green to blue.
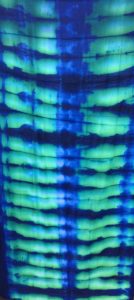
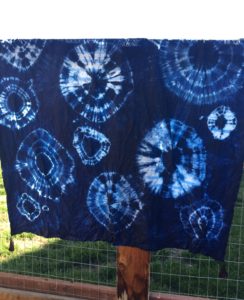
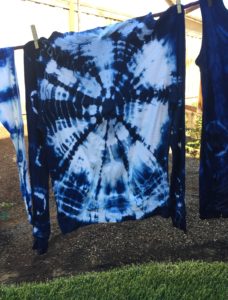
I read a little about the history of Indigo and was definitely intrigued. The natural form of indigo dye has been used worldwide for thousands of years. We tried lots of different tying and folding techniques on shirts, duvets, throws, scarves, and the results were all lovely.
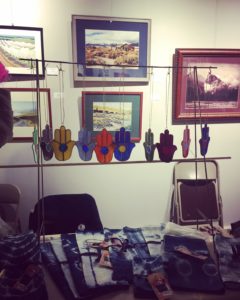
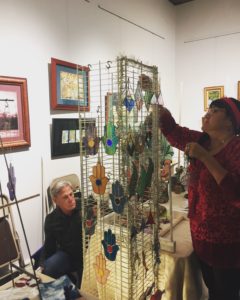
I’ll be doing another dying session this weekend in preparation for the upcoming ModShop handmade market. I’m excited to work with some table linens as well as kitchen towels and curtains. They’ll definitely bring some beauty to your home! New pieces will be available on my Etsy page soon!
